1、 Application background 1.

Before the products leave the factory, the factories that need to produce large components in the industry generally need to carry out assembly tests on each section and layer in advance to ensure that the size meets the installation accuracy and that the installation is smooth and qualified after transportation to the site.

2.

Current situation and pain points If the steel ruler is used to measure the distance, the method is complex, the measuring personnel are tired, inefficient, time-consuming, and the accuracy is affected by the professional level of the measuring personnel.

Once the limit is exceeded, the cost will be greatly increased.
Figure 1 The traditional hand drawn steel ruler method will also be tested and installed in advance in practice.
Due to the large volume and heavy weight of each component, it is generally produced in different workshops.
It is necessary to lift each component to a large workshop, and then actually splice and install it together.
Although this installation and testing method has achieved the expected test purpose, it requires a lot of time and manpower.
Is there a way to not only obtain dimensional information in an all-round way and accurately judge whether the assembly is qualified, but also save a lot of time and labor and reduce costs without actual installation? Three dimensional laser scanning technology provides a very good choice.
2、 In the new scheme of application, firstly, Leica RTC360 ultra fast 3D laser scanner is used to collect high-precision 3D coordinate points on the surface of the component in hundreds of millions to obtain a high-precision 1:1 model, and then the point clouds are pre processed by splicing in the supporting Leica Cyclone point cloud ultra fast processing software.
Finally, the professional Cyclone3DR is used for virtual installation and testing in software, which greatly shortens the installation and testing time and reduces the cost.
3、 Application Case 1.
Project Overview Location: A large factory Content: For large workpieces produced, two or more workpieces need to be pre installed Requirements: For field point cloud scanning and data processing, compare the speed of traditional methods and three-dimensional laser scanning methods to conduct virtual installation testing to check the dimensional accuracy of virtual installation 2.
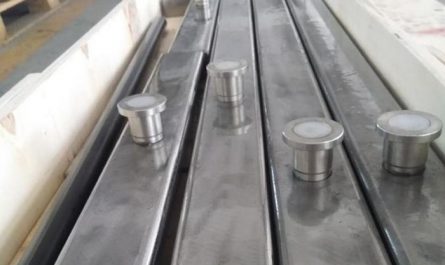
Operation process 1) Arrangement of existing model data according to design and processing, Obtain the theoretical three-dimensional geometric model for splicing and installation 2) Field point cloud collection uses the scanner to measure the three-dimensional point cloud of the external contour of the component, which generally cannot scan all the contours at once.
It needs to convert and scan the survey stations for many times.
Figure 2 Three dimensional laser scanner obtains the point cloud of the component surface.
Actual measurement of Leica RTC360 three-dimensional laser scanner operation: no target is required in the scanning process, and RTC360 visual tracking enables automatic splicing and station erection without leveling, It can be measured after being placed stably.
The operation time of a single station is fast, with a medium resolution of 51 seconds for one station.
A total of 8 stations are scanned, taking 10 minutes.
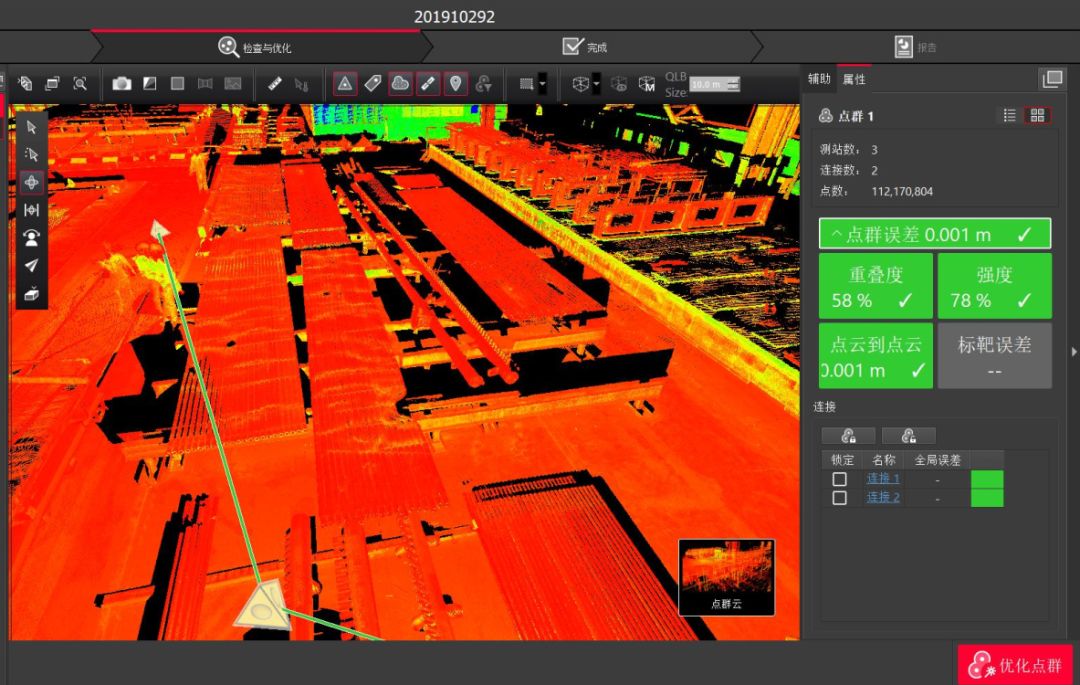
3) The measured data of point cloud splicing are imported into CycloneRegister360 point cloud processing software for splicing and other pre-processing, respectively forming the three-dimensional point cloud data of the outer contour points of each solid component.
The software can automatically splice point clouds obtained by multi station scanning, and generate reliable precision splicing report.
The processing process is intuitive and simple.
It takes less than 10 minutes to complete the splicing of 8 stations of data, with the splicing error not exceeding 1mm.
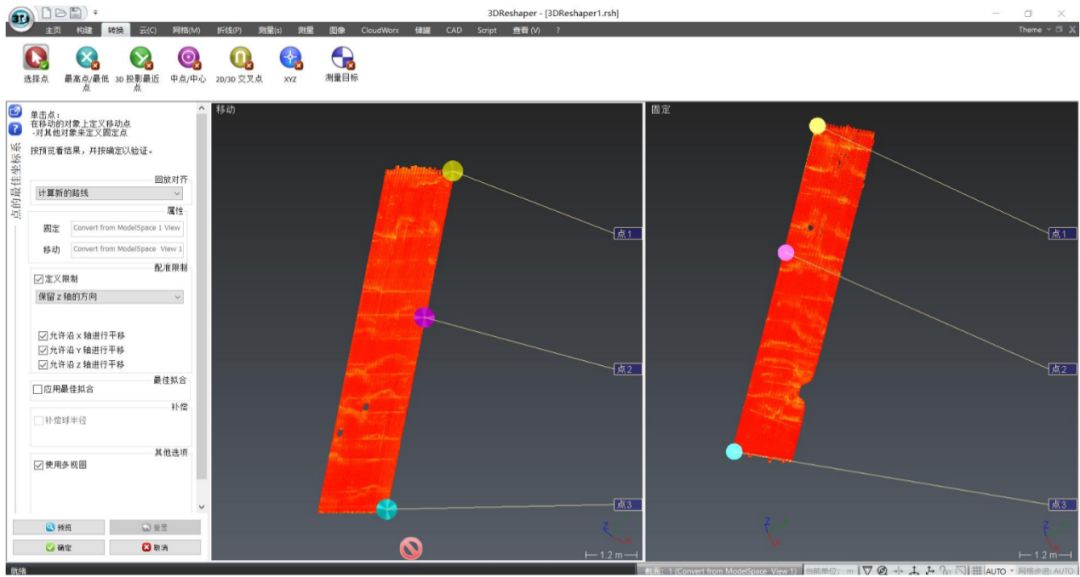
Figure 3 Leica Register360 software automatic point cloud splicing 4) Point cloud segmentation and de-noising delete point cloud data of irrelevant parts, and only retain each pre installed component Figure 4 Point cloud data of each component is obtained after de-noising 5) Coordinates are unified by using common point fitting to merge the coordinates of segmented components into a unified overall coordinate figure 5) Fitting and coordinate transformation 6) Simulation installation results output point cloud model coordinates to achieve unity, and simulation assembly is completed, The dimension measurement can be carried out to obtain the deviation results of the interface elevation and pipe center distance of each rigid beam member.
Fig.
6 If the error of rigid beam pre installation exceeds the limit, it shall be adjusted and corrected until the error meets the installation accuracy requirements.
3.
The accuracy verification of the new scheme of 3D laser scanning is carried out by using a steel ruler after the installation, and the two results are compared.
The error fully meets the installation accuracy requirement of ± 5mm.
The RTC360 ultra-high scanning accuracy is fully proved by the accuracy verification of the steel ruler and the design value after installation.
Leica RTC360 3D laser scanning solution fully meets the precision requirements in the pre installation of large workpieces.
Figure 7 Comparison results with check points 4.
The Leica RTC360 3D laser scanner has many advantages in the pre installation of large components, which are mainly reflected in: high efficiency: high scanning efficiency.
One stop scanning can be completed in 26 seconds at the earliest; There is no need for transportation and hoisting.
Compared with the original need to transport all components to the same workshop for actual installation, the new Leica RTC360 scheme can be used directly in the original workshop, reducing the intermediate transportation links; The splicing is simple and fast.
The VIS visual tracking system provides convenience and guarantee for later data splicing, and the splicing time is greatly reduced.
Compared with the hoisting method, it takes at least half a day to complete the whole pre installation process with RTC360 in less than an hour.
High accuracy: Leica RTC360 has reliable accuracy, scanning accuracy of 1mm, reliable data splicing accuracy, no stratification of point cloud, and high accuracy of point cloud results.
The example proves that Leica RTC360 product accuracy meets the requirements and is a reliable means of data acquisition.
More intuitive: 3D virtual installation technology, through Cyclone3DR software, can more intuitively display the assembly effect of each component according to the design requirements, and the required key position size information is clear and accurate, providing accurate and intuitive basis for installation and adjustment.
“Only one person is required for on-site operation.
The operation is very simple and convenient, and the results are illustrated with pictures and texts.
We need to write this method into the technical transformation plan!” This sentence is the true expression of the customer’s mind..


